Thursday, November 29, 2012

Lab 11

                                  Unknown fungi identification
Objectives:
1)    Practice the skills of fungi isolation and purification from different material.
2)    Apply the knowledge we learn from class to identify the fungi we isolate. Familiar with the distinct feature of different fungi.
Material and Methods:
1: Fungi were isolated from the plants such as: aloe, ficus, dianthus, green pepper, and garden water, soil.
2: Olympus compound microscope.  One is available with an attached camera.
           3: A kit containing microscope slides, cover slips, needles, and transfer loops.
          4. Immersion oil and dropper bottles for water to suspend specimens. 
           5. Lens paper for cleaning objectives, and Kim wipes for working with microscopic slides and specimens.
           6: Bunsen burner, dissecting needle, scalpel, scissors, forceps
7: 70% ethanol, autoclave water
8:  Agar plates, ½ PDA plates

Procedures:
 1:  Collected sample from garden.
 2: Cut the region of interested sample, and performed surface sterilized by 70% ethanol for 2 mints.
 3: Placed on agar plates or ½ PDA plates.
            4: Incubated at 28 degree incubator for 1-2 weeks allowed the fungi to grow.
5:  Sub-cultured the different colonies in same plate to new plate, incubated at 28 degree incubator, change light cycle to 12/12.
6: Observed the hyphae and conidiophores at microscopy. Key book was used to identify the fungi we isolated.
Sample collect---> Suface sterilized---->Culture on plates--->Sub-cultured---->Identification
Observations:
Unknown fungi I:
Fig.1. Dianthus growed in garden behind Borlaug building was suffering the pathogen infection which cause the wilt symptoms at the leave and flowers.

Fig.2. Flowers and uper leave were collect as my material to isolate fungi.
Fig.3. Cut a small part of flower and uper leave from infected Dianthus, sterilized with 70% ethanol, and place on 1/2 PDA plates or water agar plates.
Fig. 4. 2 weeks later, after 2 times sub-cultured, I got purify colony, and when growth at 12/12 light peroid chamber, the isolated were became to produce spores.
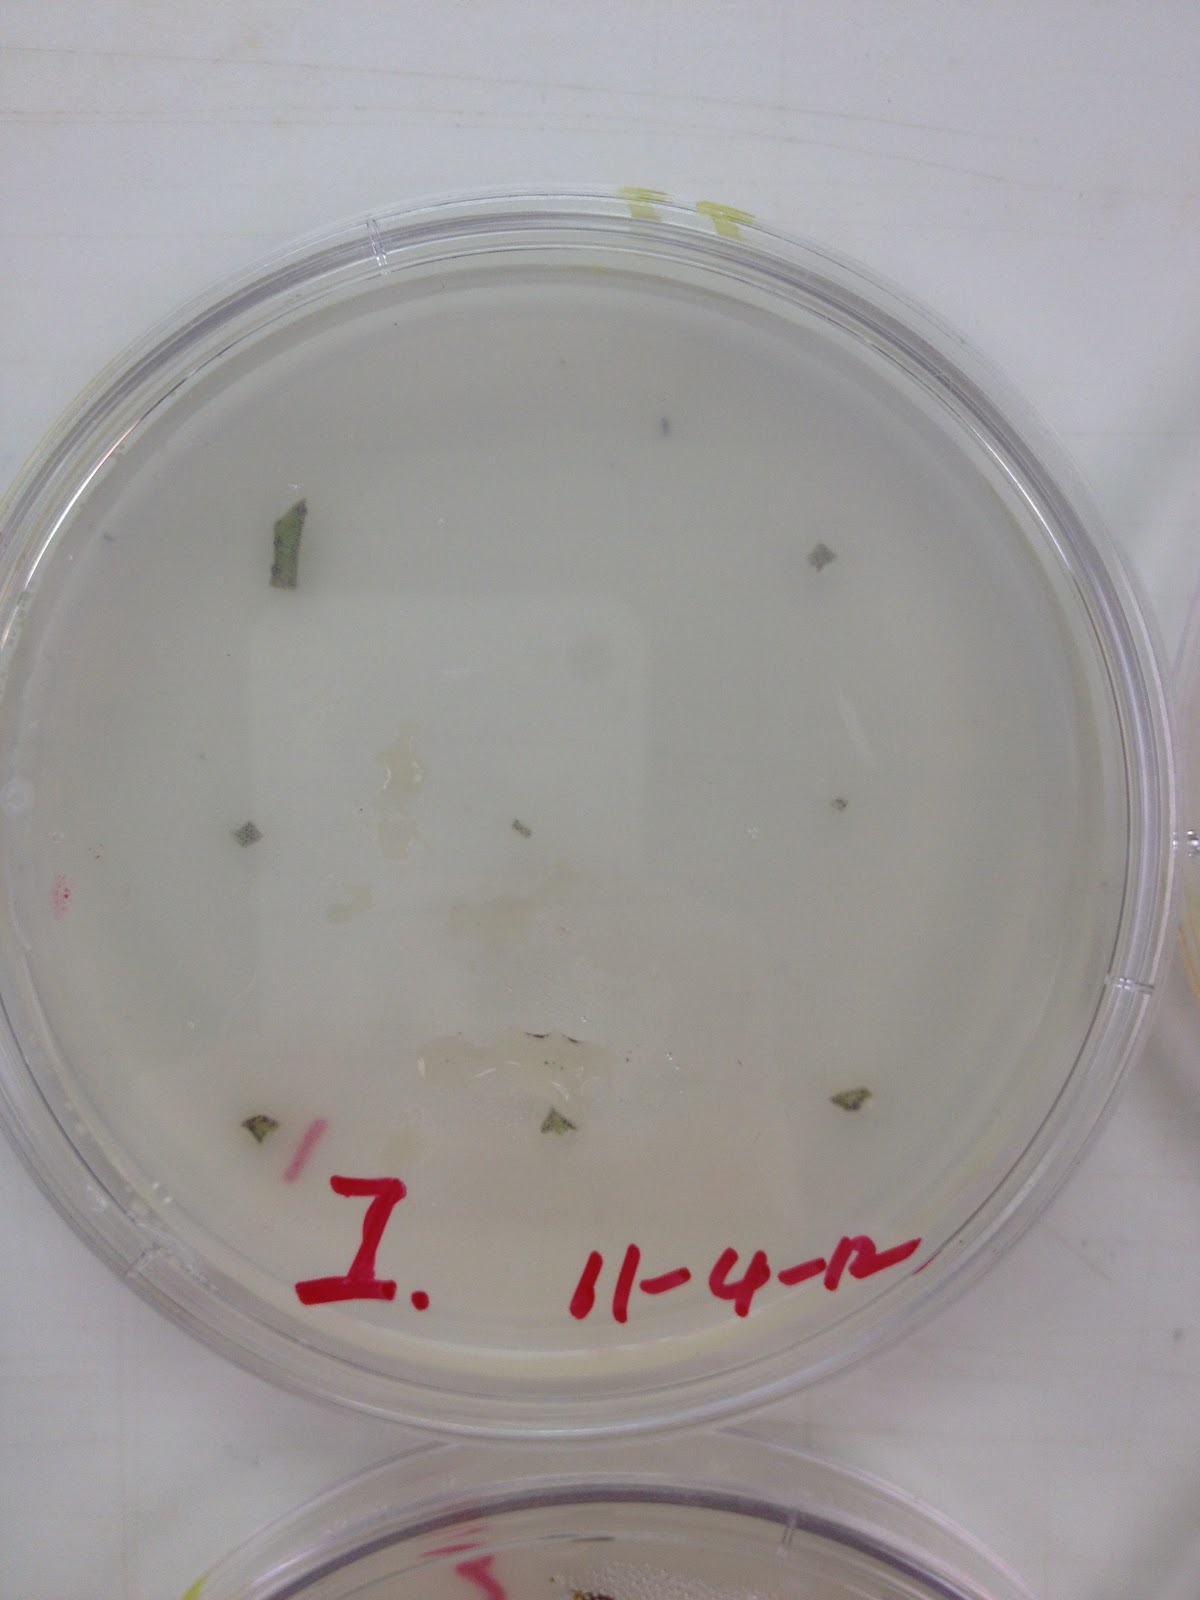
 Fig. 5.   Short conidiophores, reduced to phialides. Conidia are dark to subhyaline, simple, globose.


My isolated                              Phialophora cinerescens                     Phialophora verrucosa

                  Fig. 6. Compare my isolated with Phialophora. The conidiophore is very similar.


Unknown II:

Fig.1. Aloe was fund in garden under very severe pathogen infection.

Fig.2. Infected aloe was collected and took a picture.

Fig.3. After surface-sterilized, the small parts of aloe were placed on 1/2 PDA plate. Incubated at 28 degree chamber with 12/12 light period.
Fig. 4. Several coloies were growed on plates. Each colonies were sub-cultured to new PDA plates. 2 weeks later,

Fig. 5. My isolated. 
Spores are produced along the vegetative filaments by a swelling of the wall and subsequent isolating by a cross-wall. The conidia can be terminal on the filament or at various sites along the length. Chains of the conidia may occur and are sometimes separated by empty cells.
Chrysosporium tropicum showing typical pyriform shapred conidia with truncated bases which may be formed either intercalary, laterally or terminally.The chain of conidia can be separated by empty cell.

Fig.6.  Chrysosporium
Compare the known  Chrysosporium strucutres, it is convicing to say that my isolated is Chrysosporium fungi which belong to Ascomycota.
Unknown III

Fig.1. Ficus tree were found in garden which was suffering very severe pathogen infection

                       Fig. 2. Leaf was collect and cut into small parts for surface-sterilized.
Fig. 3. Sterilized tissues were places on 1/2 PDA plate to culture the fungi.
Fig. 4. After several rounds of sub-cultured, pure colony was isoloated from ficus. The mycirum were growed to cover the whole plate. Perithecium were formed.
Fungal fruiting bodies are identified by erumpent black, single, globose, very circular pycnidia on the base of needles
Fig. 5. Perithecium were crushed to release the ascospores. Under the microscopy.
                                Fig. 6.  Diaplodia isolated from Juniper ( From published paper)

 
Compare the structure of my isolated and the Diaplodia, together with the symptoms I observed from ficus, indicated that the unknown fungi I isolated is Diaplodia, which belong to Ascomycota.

Discussion: The strategy I used in this project is that, isolate the fungi pathogen from plants, then identify them base on the symtoms they caused and the structures of conidiospores. As we known that specific fungi can only infect very specific plants, furthermore, the symptoms it caused are very unique as well. Taking together these evidences with the observation of microscopy, it is relative easy to identify the unknown  fungi.


Lab 10

                                            Grow mushrooms in our class
Objecitves: Learn how to grow mushrooms, and faimliar with the conditions and the processes of mushrooms growing.
Material and Method
Mushrooms kit: Skitake and Oyster mushrooms kit
                        Tray,  plastic bag, plastic sticks, water sprayer
Procedures:


1: Soak the kit with spring water for half an hour until the kit was thoroughly wet.

2: Place the kit to the tray, and constructure a space by plastic stick and bag to keep hight humidity condition for mushrooms growing( Picture from Sheila)

3: Mist mushrooms kit 1-3 time every days. Thanks for Peicheng and Dr. Shaw's help cause we are not working at Peterson building.


4: 1 weeks later, both oyster and skitake are become to genminate, we can see the baby mushrooms are growing. Hope we can get enough mushrooms at the end of the class. We are looking forward to eat them at the last class. Ha, interesting!

5: 2 weeks later, the mushrooms are mature and ready to collect. Sheila harvest them and plan to cook them. Looking forward that!

6: Mushrooms we growed were cooked by Sheila! How nice they looks! Actually, it tasted even better than they look! Thanks Sheila.

Discussion: This is the first time I grow mushrooms, and I like it very much. Now I know, the humidity is very important for mushrooms growing. The kit we used is commercial, it should consist with the same compost as we saw last time from Monterey factory. This is very critical for mushrooms growing as well.

Lab 9

                                                         Brew beer in our class
The principle of making beer:  Ethanol fermentation is a biological process in which sugars and sucrose is converting into cellular energy, and thereby produces ethanol and carbon dioxide as metabolic waste products. Yeast, an eukaryotic organism is well known as fermentation. Yeast is able to converted starch to fermentable sugars (mostly glucose) by the enzyme a-amylase. Yeast grows and ferments glucose through pyruvic acid to ethanol with liberation of carbon dioxide.  Saccharomyces cerevisiae is the only commercial organism which is used for alcohol production.
Material and Method:
Large nylon bag for holding the grains, Stockpot, with a tightfitting lid, Thermometer, Wooden spoon,Timer,Small linen bag for holding the hops, PBW cleaner, StarSan sanitizer solutionSpray bottle, Carboy for fermenting with lids., Funnel. Spring water, Sugar, Pale ale malt, crushed. Munich malt, crushed, Cascade hops, a lot of ice, White labs California Ale Yeast.

Procedures:

                                                        Fig.1. The manual of brew beer

                                  Fig. 2. Heat the stockpot with 2 gallon spring water.
         Fig. 3. Put the malt gains to nylon bag and put into stockpot and cook for 30 mints.
Fig.4.  Lift the grains bag entire out of the stockpot, remain the bag over the pot for 1-2 mints make sure all of the liquid was filter from the bag.


            Fig.5. Add malt extract into stockpot, boil it. During the time gently stir the pot, mix them well.

Fig.6. Add the hops in. We also get the chance to taste it. It does not taste as good as I expecting. However, Dr. Shaw and Dr. Ebbole like it very much.

Fig. 7. During this time, we also use the sanitize solution to clean and sanitize the carboy.
 Fig. 8. Sugar also can be add to increase the concentration of sugar and help to yield more ethanol at the end.

9: Cool down the stockpot, and fill in the carboy. Saccharomyces cerevisiae  was added in at this step.
 Fig.10. To record the original density, we suck out small amount of brew and check the gravity which is able to indicate the density.

                                 
 Fig. 11. Seal the carboy. And we all enjoy the very premium beer we made. May be we cannot call it beer at this moment.
Fig.12. We stock it at Dr. Ebbole’s office, and cover with somebody’s coat. This will keep it warm and avoid the light which will promote the yeast’s fermentation in the carboy. However, it looks a little bit scary, I am not very confidence it will taste like beer...
Fig.13. 14 days later, before we could further carbonate the brew, we need to transfer it to a clean carboy because as fig showed, a lot of scummy were sediment at the bottom of carboy. This also indicates that the yeast has digested the gains, sugar, and malt whcih we added very thoroughly.  And the layer of foam at the top was indicating the successful fermentation.
                        Fig.14. Transfer the supernatant to a new sanitized carboy by siphon.  

Fig.15. At this time we check the gravity of the brew as well.  The result indicates that the alcohol was increase during last two weeks. It tasted more like beer!  Later we sent it back to Dr. Ebbole’s office, and keep it to carbonation for another one week.

16: One week later, we transfer brew from carboy to a keg by siphon, meanwhile part of them were bottled into glass bottles.  Brew in keg were add the carbon dioxide by the pressure, and the bottle beer were add with the carbonation tablets.  The beer will be ready to drink one week later.

17: Beer is ready! We did it!
Discussion: Although I am not a beer drinker, I really enjoy the experience of making it.  It is really hard to imagine that we human use such small organism to help us produce this kind of specific product, and the mechanisms were just revealed at very recently.  This demonstrate again that to know better about fungi will absolutely benefit we human being very much.